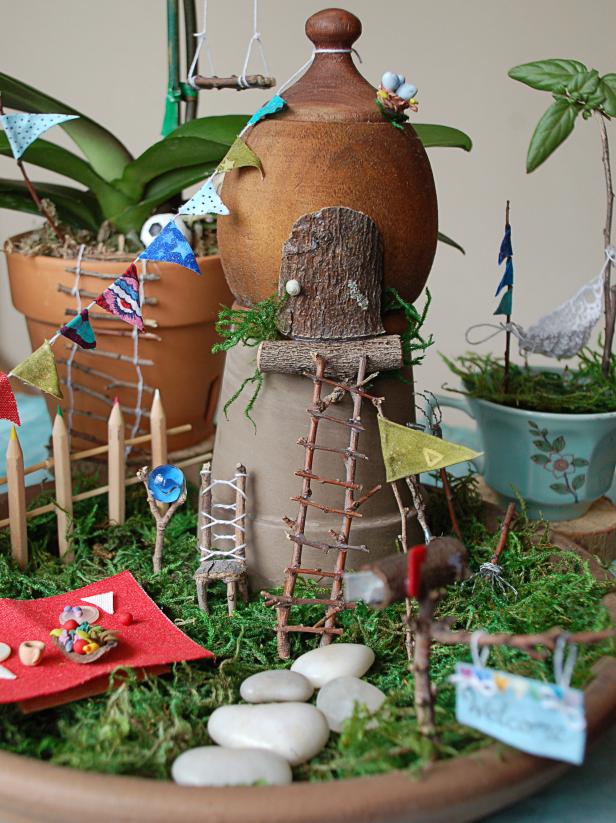
A Tiny Garden House Create a small fairy cottage to go in your backyard with a little bit of bark along with an intriguing container. This wooden kettle had an ideal roofing shaped lid, and we inserted a doorway by carefully trimming a piece of bark to the right shape. Use hot glue to attach the doorway, and to add a handle. We utilized an empty snail shell from the garden for our handle.

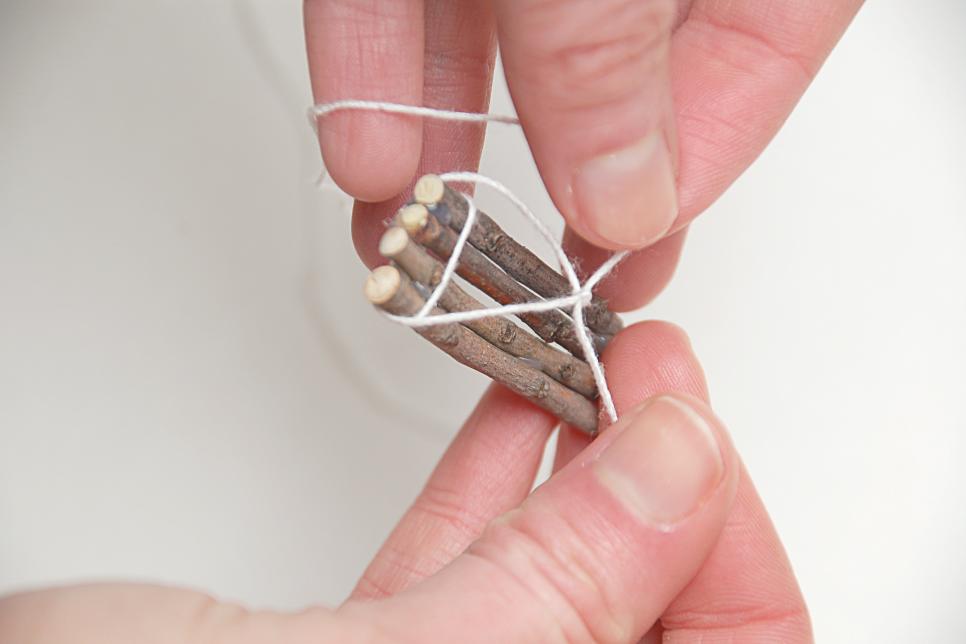
Developing a Ladder For to their residence, your fairies may need a ladder. If you want to make a rope ladder, you're going to want some twigs and a little bit of string. Produce the rungs by clipping all the twigs to about the exact same length. Then tie each one the rungs together by knotting lengths of series on either end of every twig, spacing them equally as you go.

Finished Rope Ladder Glue your final ladder to the top edge of the pot and let it hang. If you would like a more traditional ladder, just glue your rungs into two larger twigs instead of tying them together with string.

A Fairy Mailbox As soon as you've got a house for you fairies, you may choose to add a mailbox in order that they can get letters from all their buddies. We took a parcel of wisteria blossom from the yard, hollowed out the center leaving a tube of bark, and attached it to a twig with hot glue. The mailbox flag was made with polymer clay and we hung a hand painted, cloth "welcome" sign with a couple pieces of string.

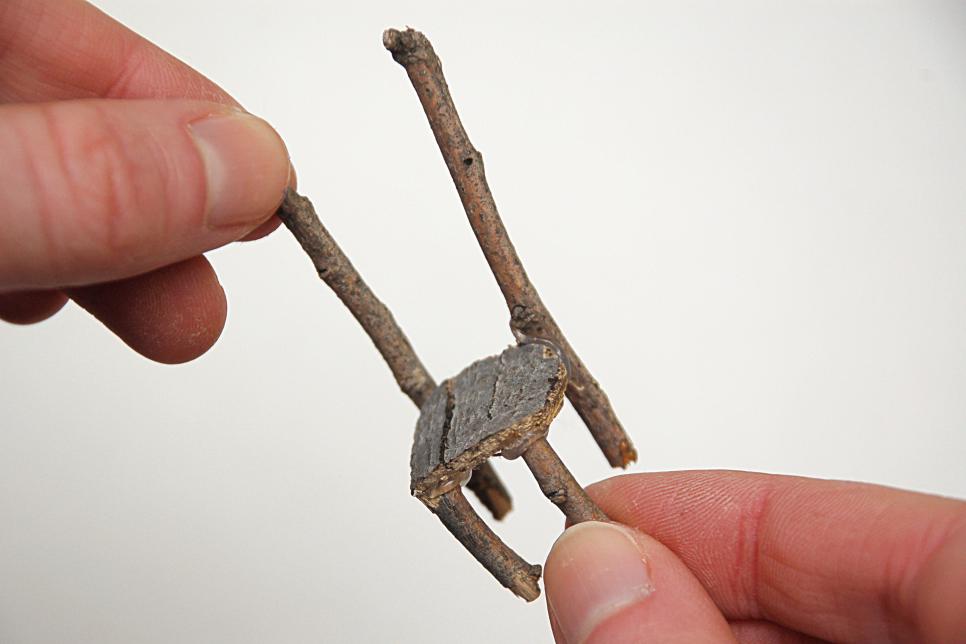
Assembling A Fairy Chair You may produce a little fairy seat with two extended twigs, two short twigs and a piece of bark. Cut the bark into the dimensions and shape of a chair seat. Glue the two extended twigs to the back corners of the seat, creating the back legs of your chair below the chair, and the support to your seat back above the seat. Glue the short twigs on front corners of the chair to make legs in front.
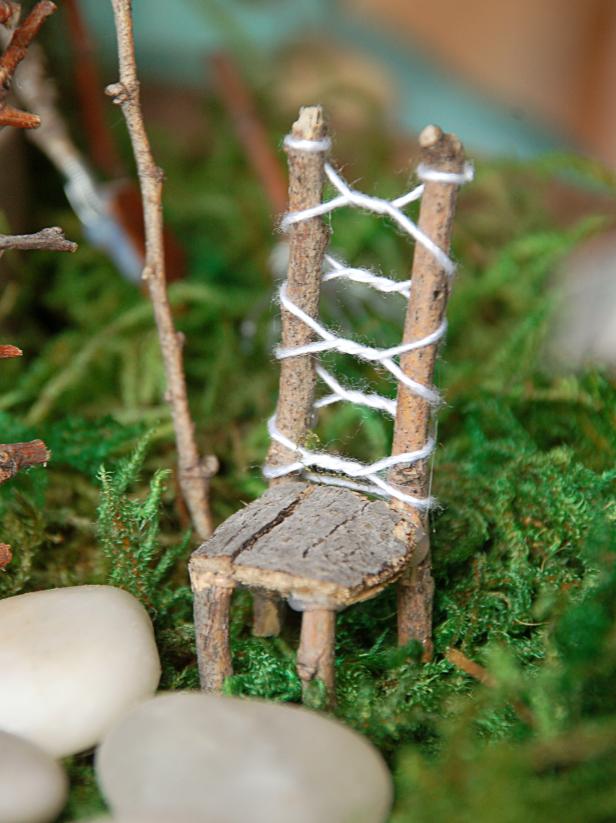
Finished Chair If your chair legs aren't even, simply cut them all to the same length. Then weave a bit of rope back and forth between the two long sticks to create your chair back. If you're creating multiple seats, try different weaving styles for various seats to make each one special.
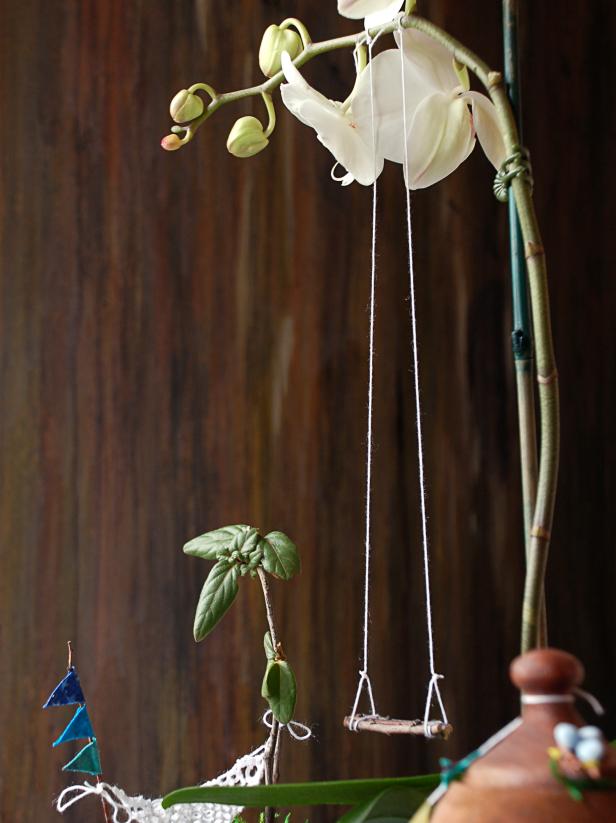
Creating A Fairy Swing If a seat is not quite arousing, it's fast and easy to construct a swing to your fairies. Glue four or five twigs together and trim to make a rectangle chair. Wrap a piece of string around each end of the rectangle and glue on the bottom to fasten. Tie the string loosely in addition to the center, creating a little triangle on both ends to hang your swing from.
Hanging Your Swing Gently hang your swing out of an orchid stem, bonsai branch, or your favorite potted plant. Just be aware that cats and kids find fairy swings difficult to resist, so don't choose a stem or plant that is too delicate.
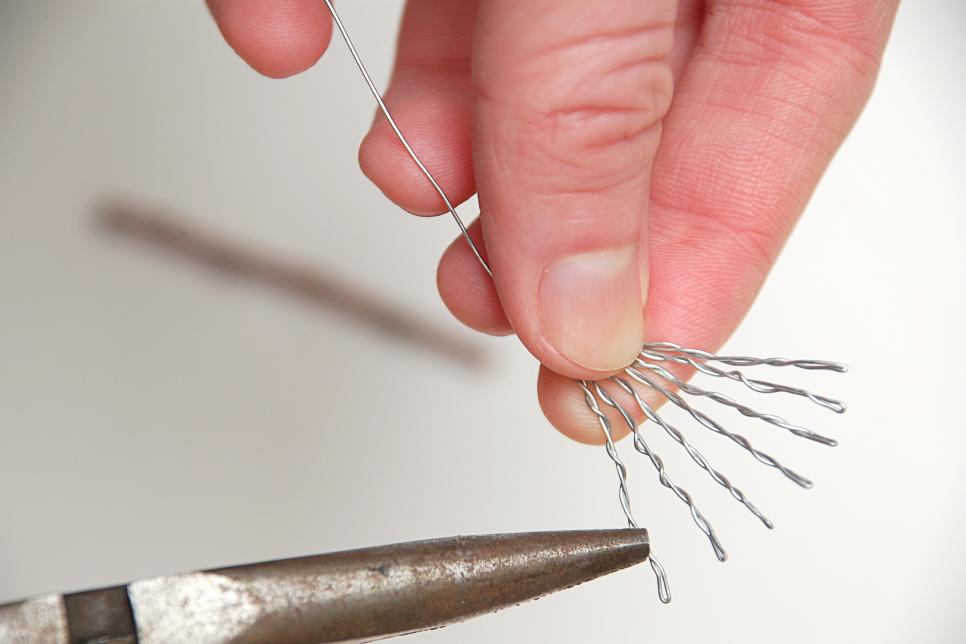
Creating A Rake Every garden fairy needs a few gardening tools to maintain everything spic and span. Create a rake to your fairy with wire and a twig. Twist the wire to create a set of tines, and then use the cable to wrap the tines together around the end of the twig.
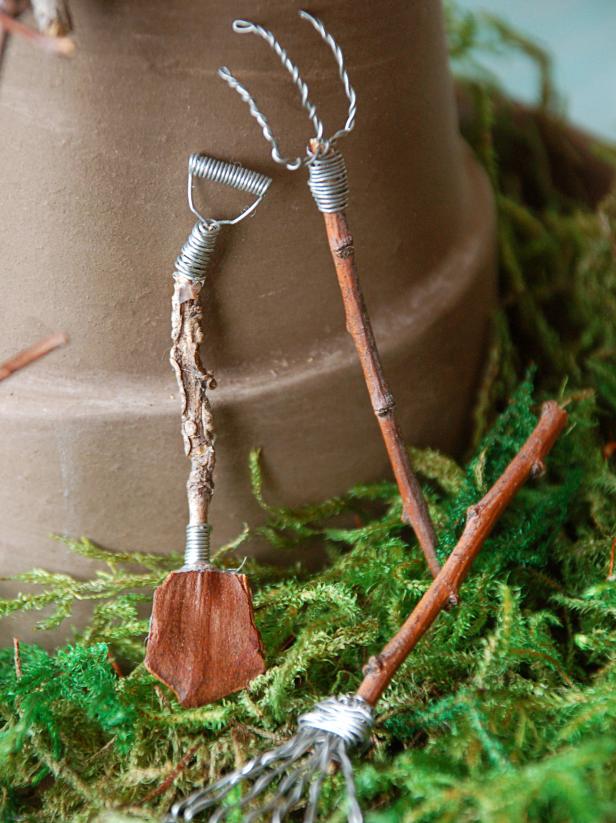
Shovel, Pitchfork and Rake Create a pitchfork precisely the same way you created the rake, but using just 3 tines. To make a shovel, then paste a pine cone scale into the conclusion of a twig to produce the shovel blade. Use cable to produce a grip and attach it to the top of the twig.
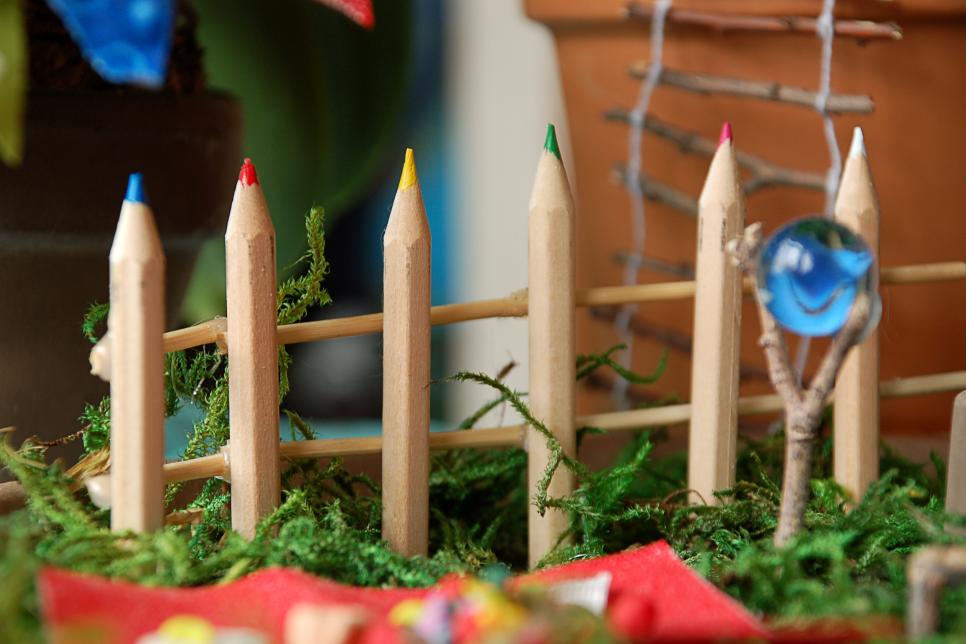
Garden Fence You can create a fencing for you garden by gluing together a variety of items you can find around the house. We used colored pens and skewers to make our fence, however you can use popsicle sticks, toothpicks, chopsticks, crayons, twigs, plastic forks or spoons, cotton swabs or some other items you think would work.
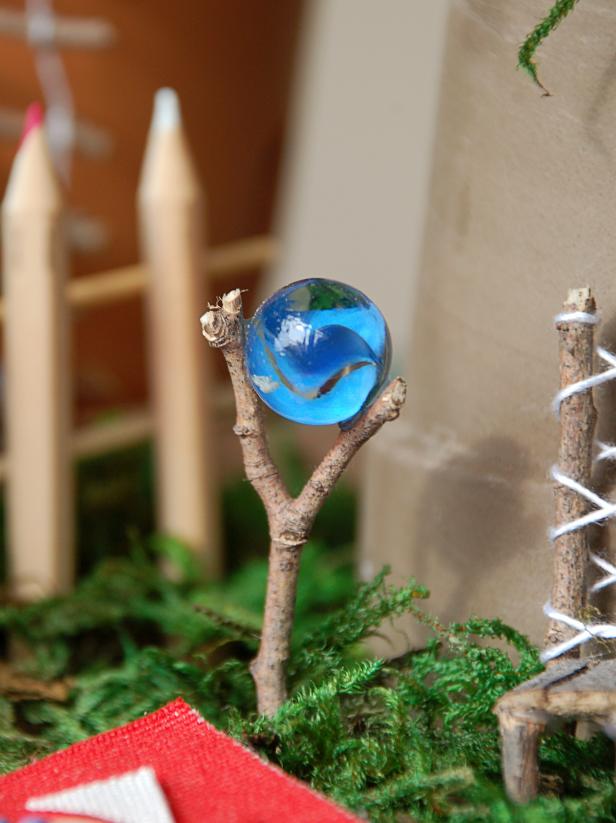
Fairy Gazing Ball If you prefer yard ornaments, chance are your fairies will too. Place a gazing ball in your own fairy garden by gluing a marble on the end of a twig. It'll be a bit top heavy so create a base for it with a huge dollop of hot paste.
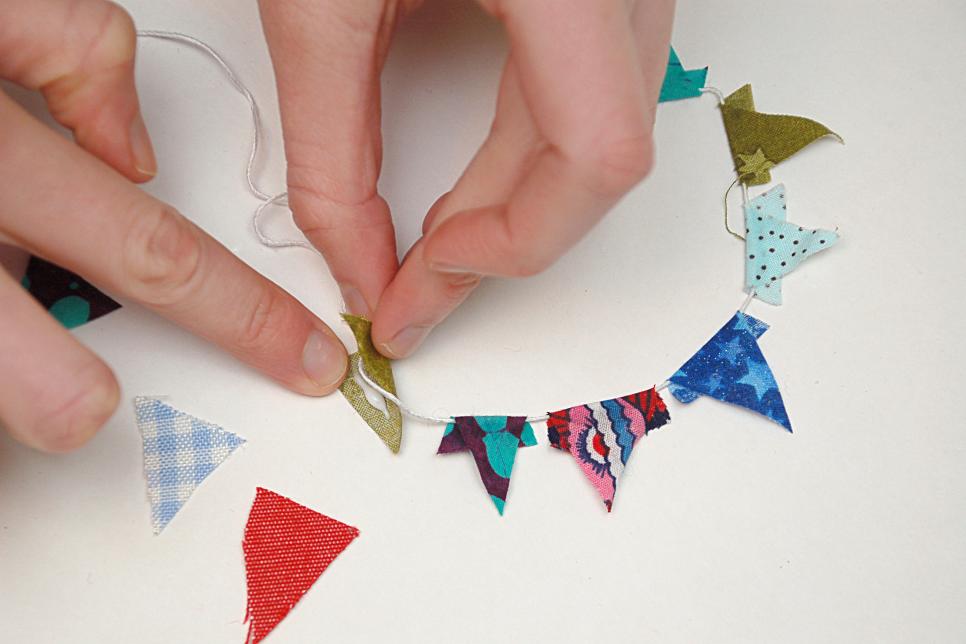
Developing A Party Garland Now that you've obtained the fairy garden basics, it is time to add the party. Start by developing an enjoyable bunting to rope across the lawn. Cut outside triangles of cloth, and attach them to a length of rope by including a small glue to one side and folding them over. You'll have a bit of cloth overhang, but it's easy to cut after the glue dries.
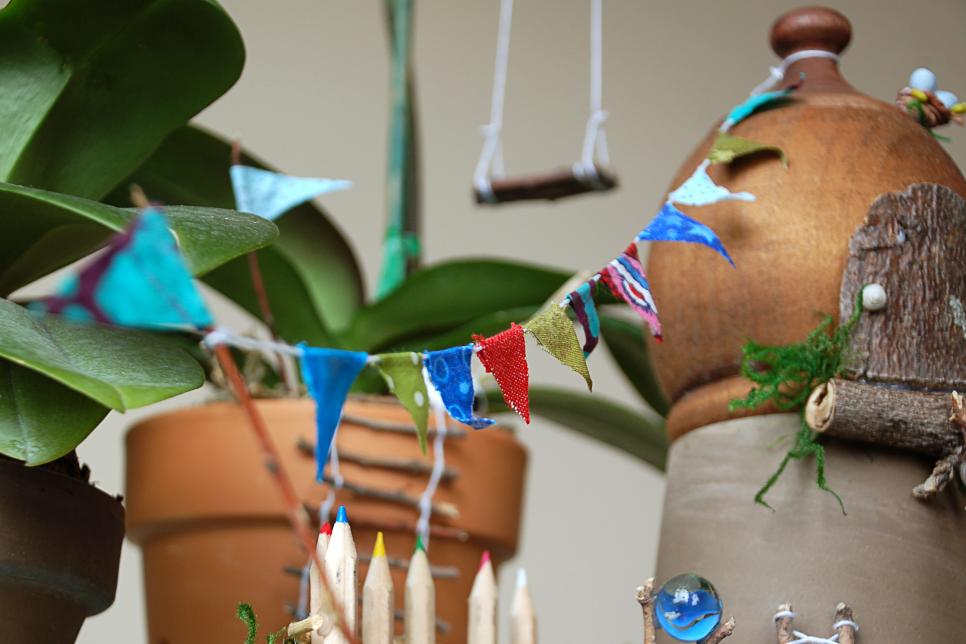
Hang The Bunting You might choose to create a couple small flags to decorate your backyard too. Simply cut slightly bigger triangles and paste them. We used among those flags to help hang our bunting, and sprinkled more across the garden for a festive feel.
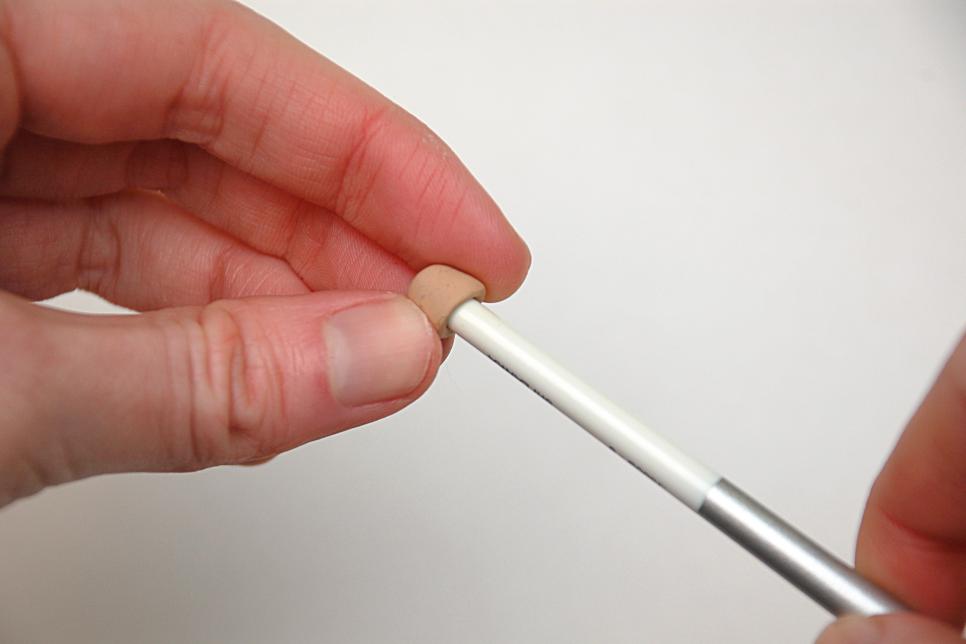
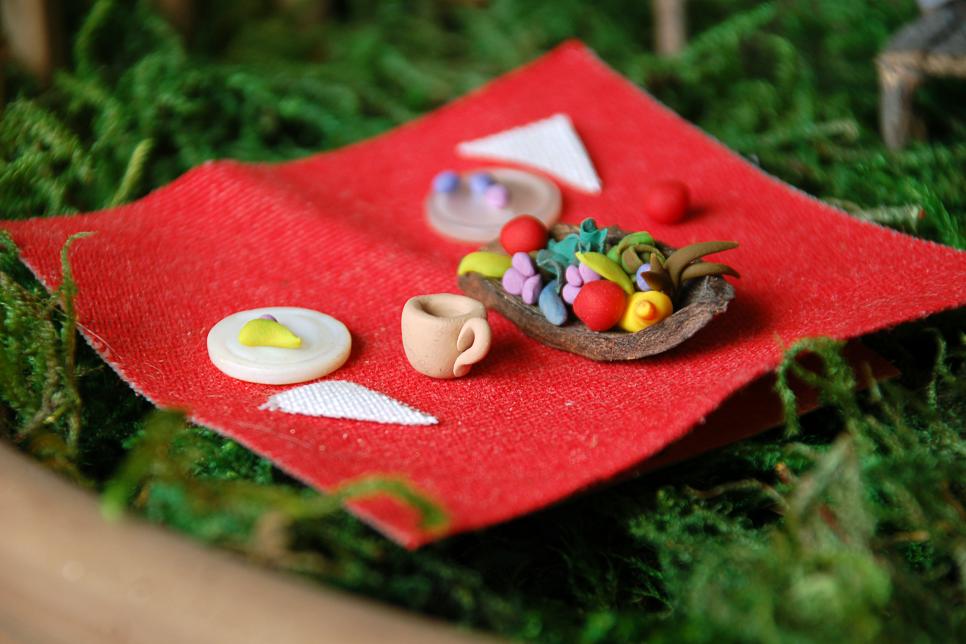
Creating With Clay Every party needs great food and drink, but tiny fairy dishes and food can be difficult to discover. Create your own with polymer clay. Roll different colors into balls to create fruit, or press a ball on the end of a pencil or paintbrush to make a very small cup. Lay the cup round the close of the tool, and also add a deal with a small amount of extra pinch of clay. Use the instructions that came with your clay to get baking.
A Fairy Picnic You do not need to earn everything out of clay. Try using buttons for plates and a pecan or walnut shell for a fruit jar or picnic basket. Just a little square of cloth makes a perfect picnic blanket, and miniature white triangles are just the right size for fairy napkins.
A Tiny Bird's Nest It is possible to use polymer clay to add details all on your fairy garden. Along with our mailbox flag, we used clay to make this tiny bird's nest, complete with eggs. It was the ideal accessory for the roof of our fairy house.

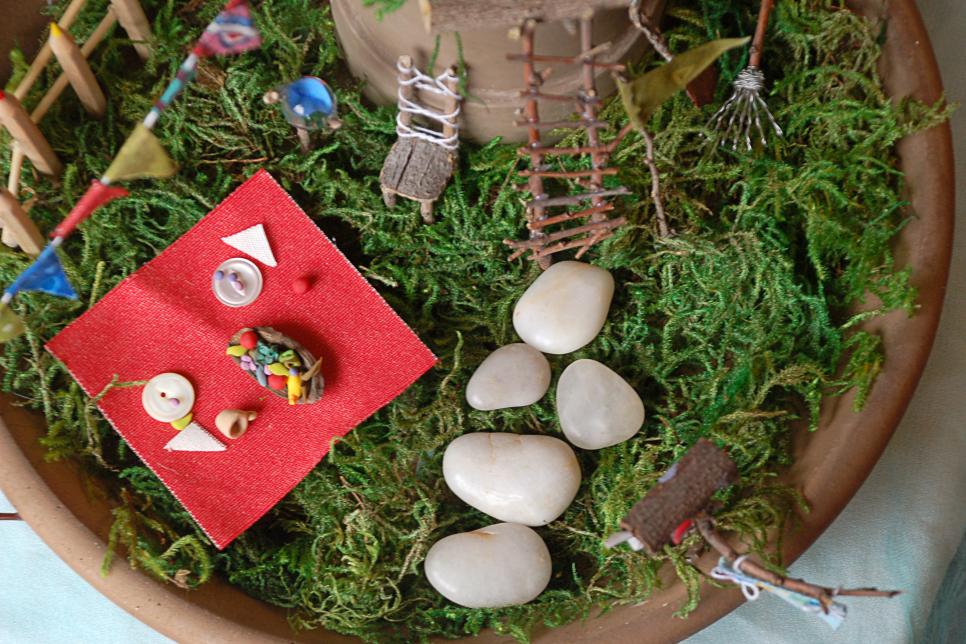
Layout After all your pieces are made, you will need to arrange them in a cohesive display. We utilized a huge planter saucer full of moss for the bulk of our fairy garden. You can use hot glue to attach any pieces that might have trouble staying up on their own, such as the mailbox and gazing ball before you include the moss. Use stones to create a route to your fairy home, and organize your picnic around the mossy yard.
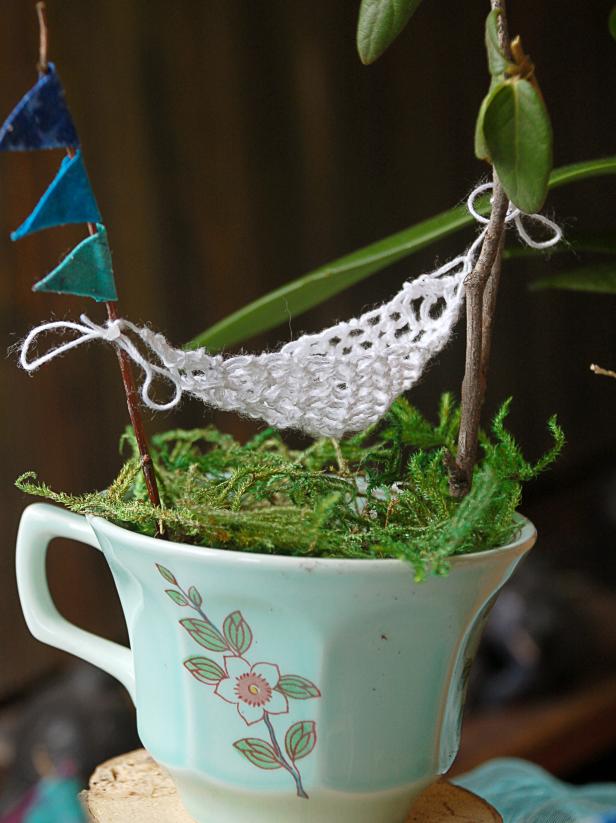
A Fairy Hammock If one saucer isn't sufficient for your garden, or in the event that you would just like to expand it, add more plants, pots and even teacups around your saucer. We hung a small fairy hammock at a classic teacup to present our fairies a place to unwind. If you crochet, you may produce a hammock by adding two stitches every row until your hammock is half as long as your want it. Then decrease by two stitches each row. If you do not crochet, cut an oval from lace, burlap or any other cloth and tie it at each end with string for hanging out.
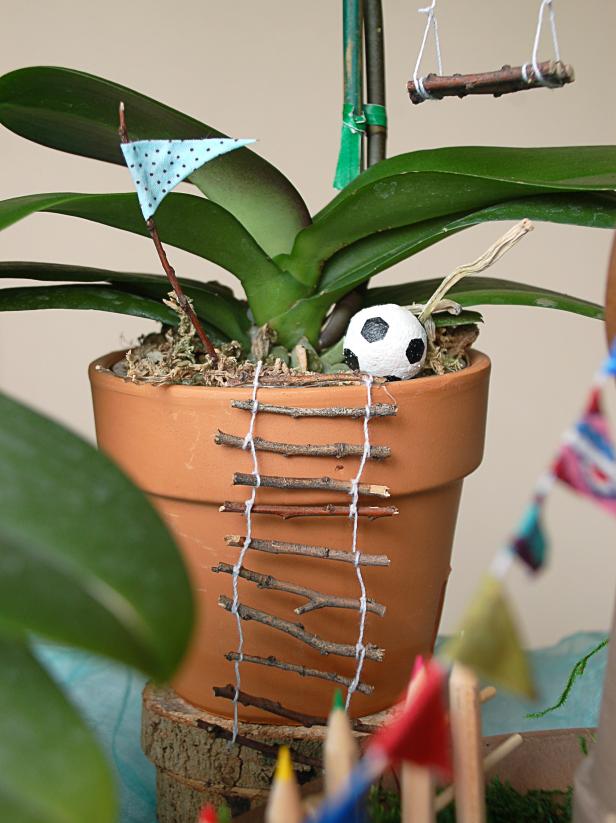
A Playground Pot In case you have a place to unwind, you may also require somewhere to play. Paint a round bead like a soccer ball and set it under your swing. Add a flag for a splash of colour, and remember a ladder. You can keep adding pots and accessories throughout the year, to make your fairy garden a lively and beautiful addition to your indoor plants.
No comments:
Post a Comment